Understanding Policy Management using Kyverno

I am Kaiwalya Koparkar, founder of Geek Around Community, a GitHub Campus Expert, MLH Coach, Open-Source Advocate & DevRel. I work as a Program Manager/ Community Manager in several communities. I love to speak at sessions, workshops, meetups, and conferences. In the past year, I have won over 10+ hackathons and mentored/judged/participated in over 35+ global hackathons.
Hey everyone, welcome back. In this blog, we are going to see about Kyverno which is a policy engine which is designed for Kubernetes. This might sound like a lot at the start but it's fairly easy. There are some prerequisites though, you don't need to be an expert in Kubernetes but it would help if you have deployed 1-2 apps on Kubernetes before. So let's get started!
➡️ What is Kyverno 🤔 ?

According to the Kyverno official documentation, it is described as follows
Kyverno is a policy engine designed for Kubernetes. With Kyverno, policies are managed as Kubernetes resources and no new language is required to write policies. This allows using familiar tools such as
kubectl,git, andkustomizeto manage policies. Kyverno policies can validate, mutate, and generate Kubernetes resources plus ensure OCI image supply chain security. The Kyverno CLI can be used to test policies and validate resources as part of a CI/CD pipeline.
but what are all these "policies" we are talking about? To simplify let's take an example :
We all have been to schools/ colleges/ universities at some point in our life, some might be pursuing it right now (like me :D) and we have various rules we need to keep in mind while attending the school & colleges. These rules can be seen as policies in the "Kubernetes" school or college. So if you want to restrict/ validate/ mandate some properties, or features your deployment should have or shouldn't have you can mention that using Policies and Kyverno helps us in the creation of the policies which validate your deployment and send errors if the requirement is not matched. So as you might have guessed, this helps you get total control over what goes into your deployment and whether it is up to the guidelines you have created.
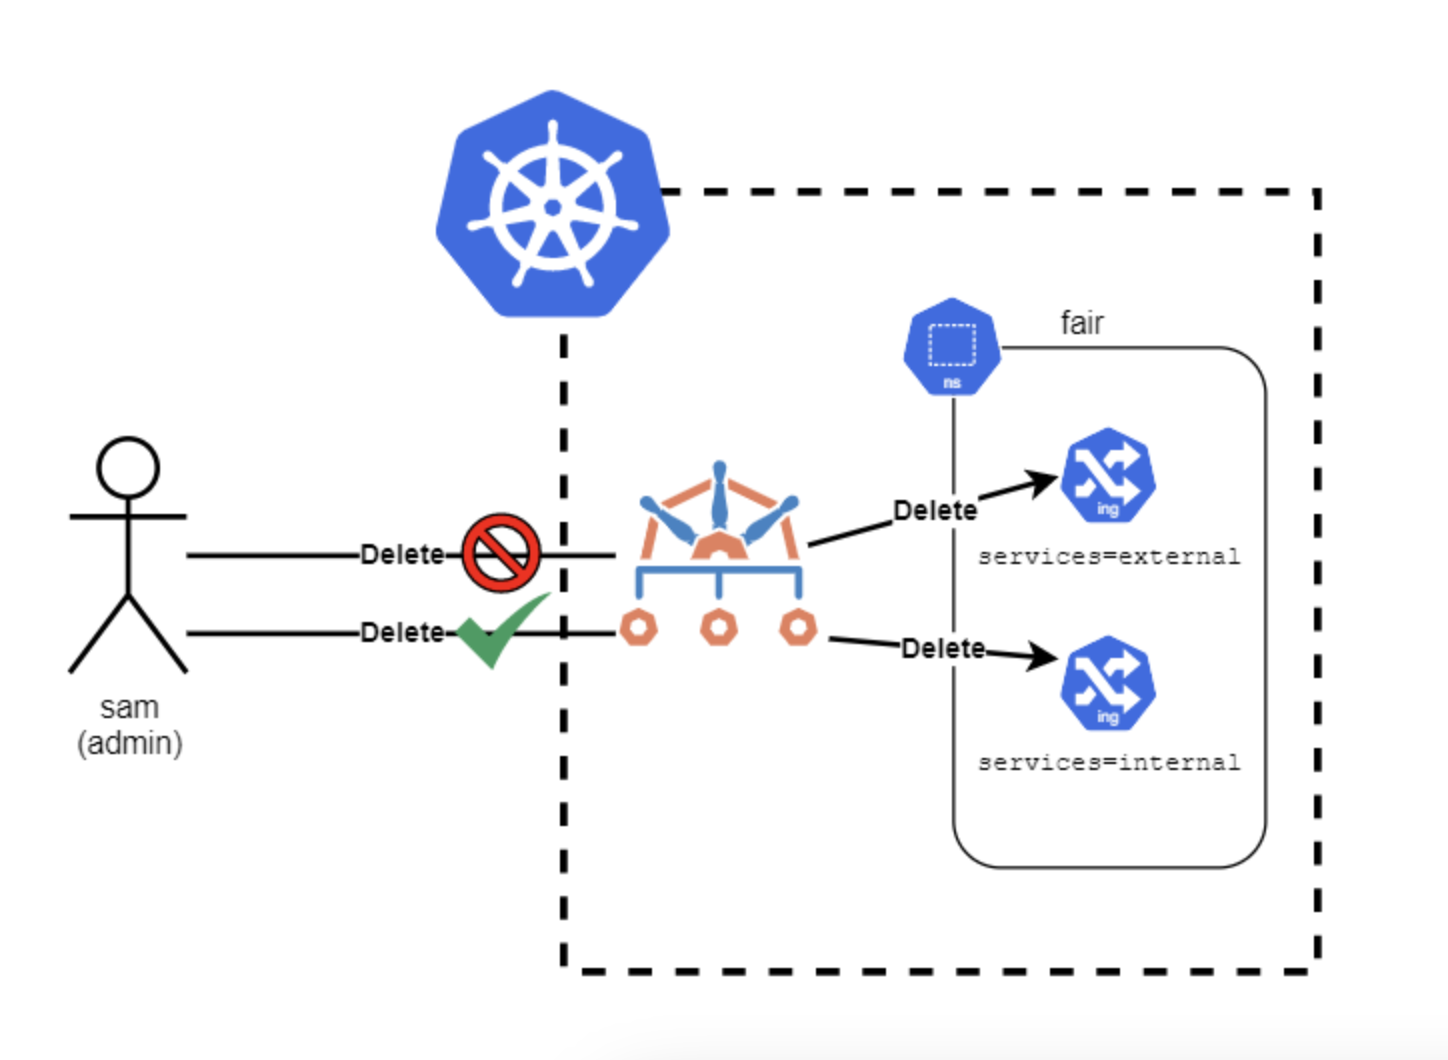
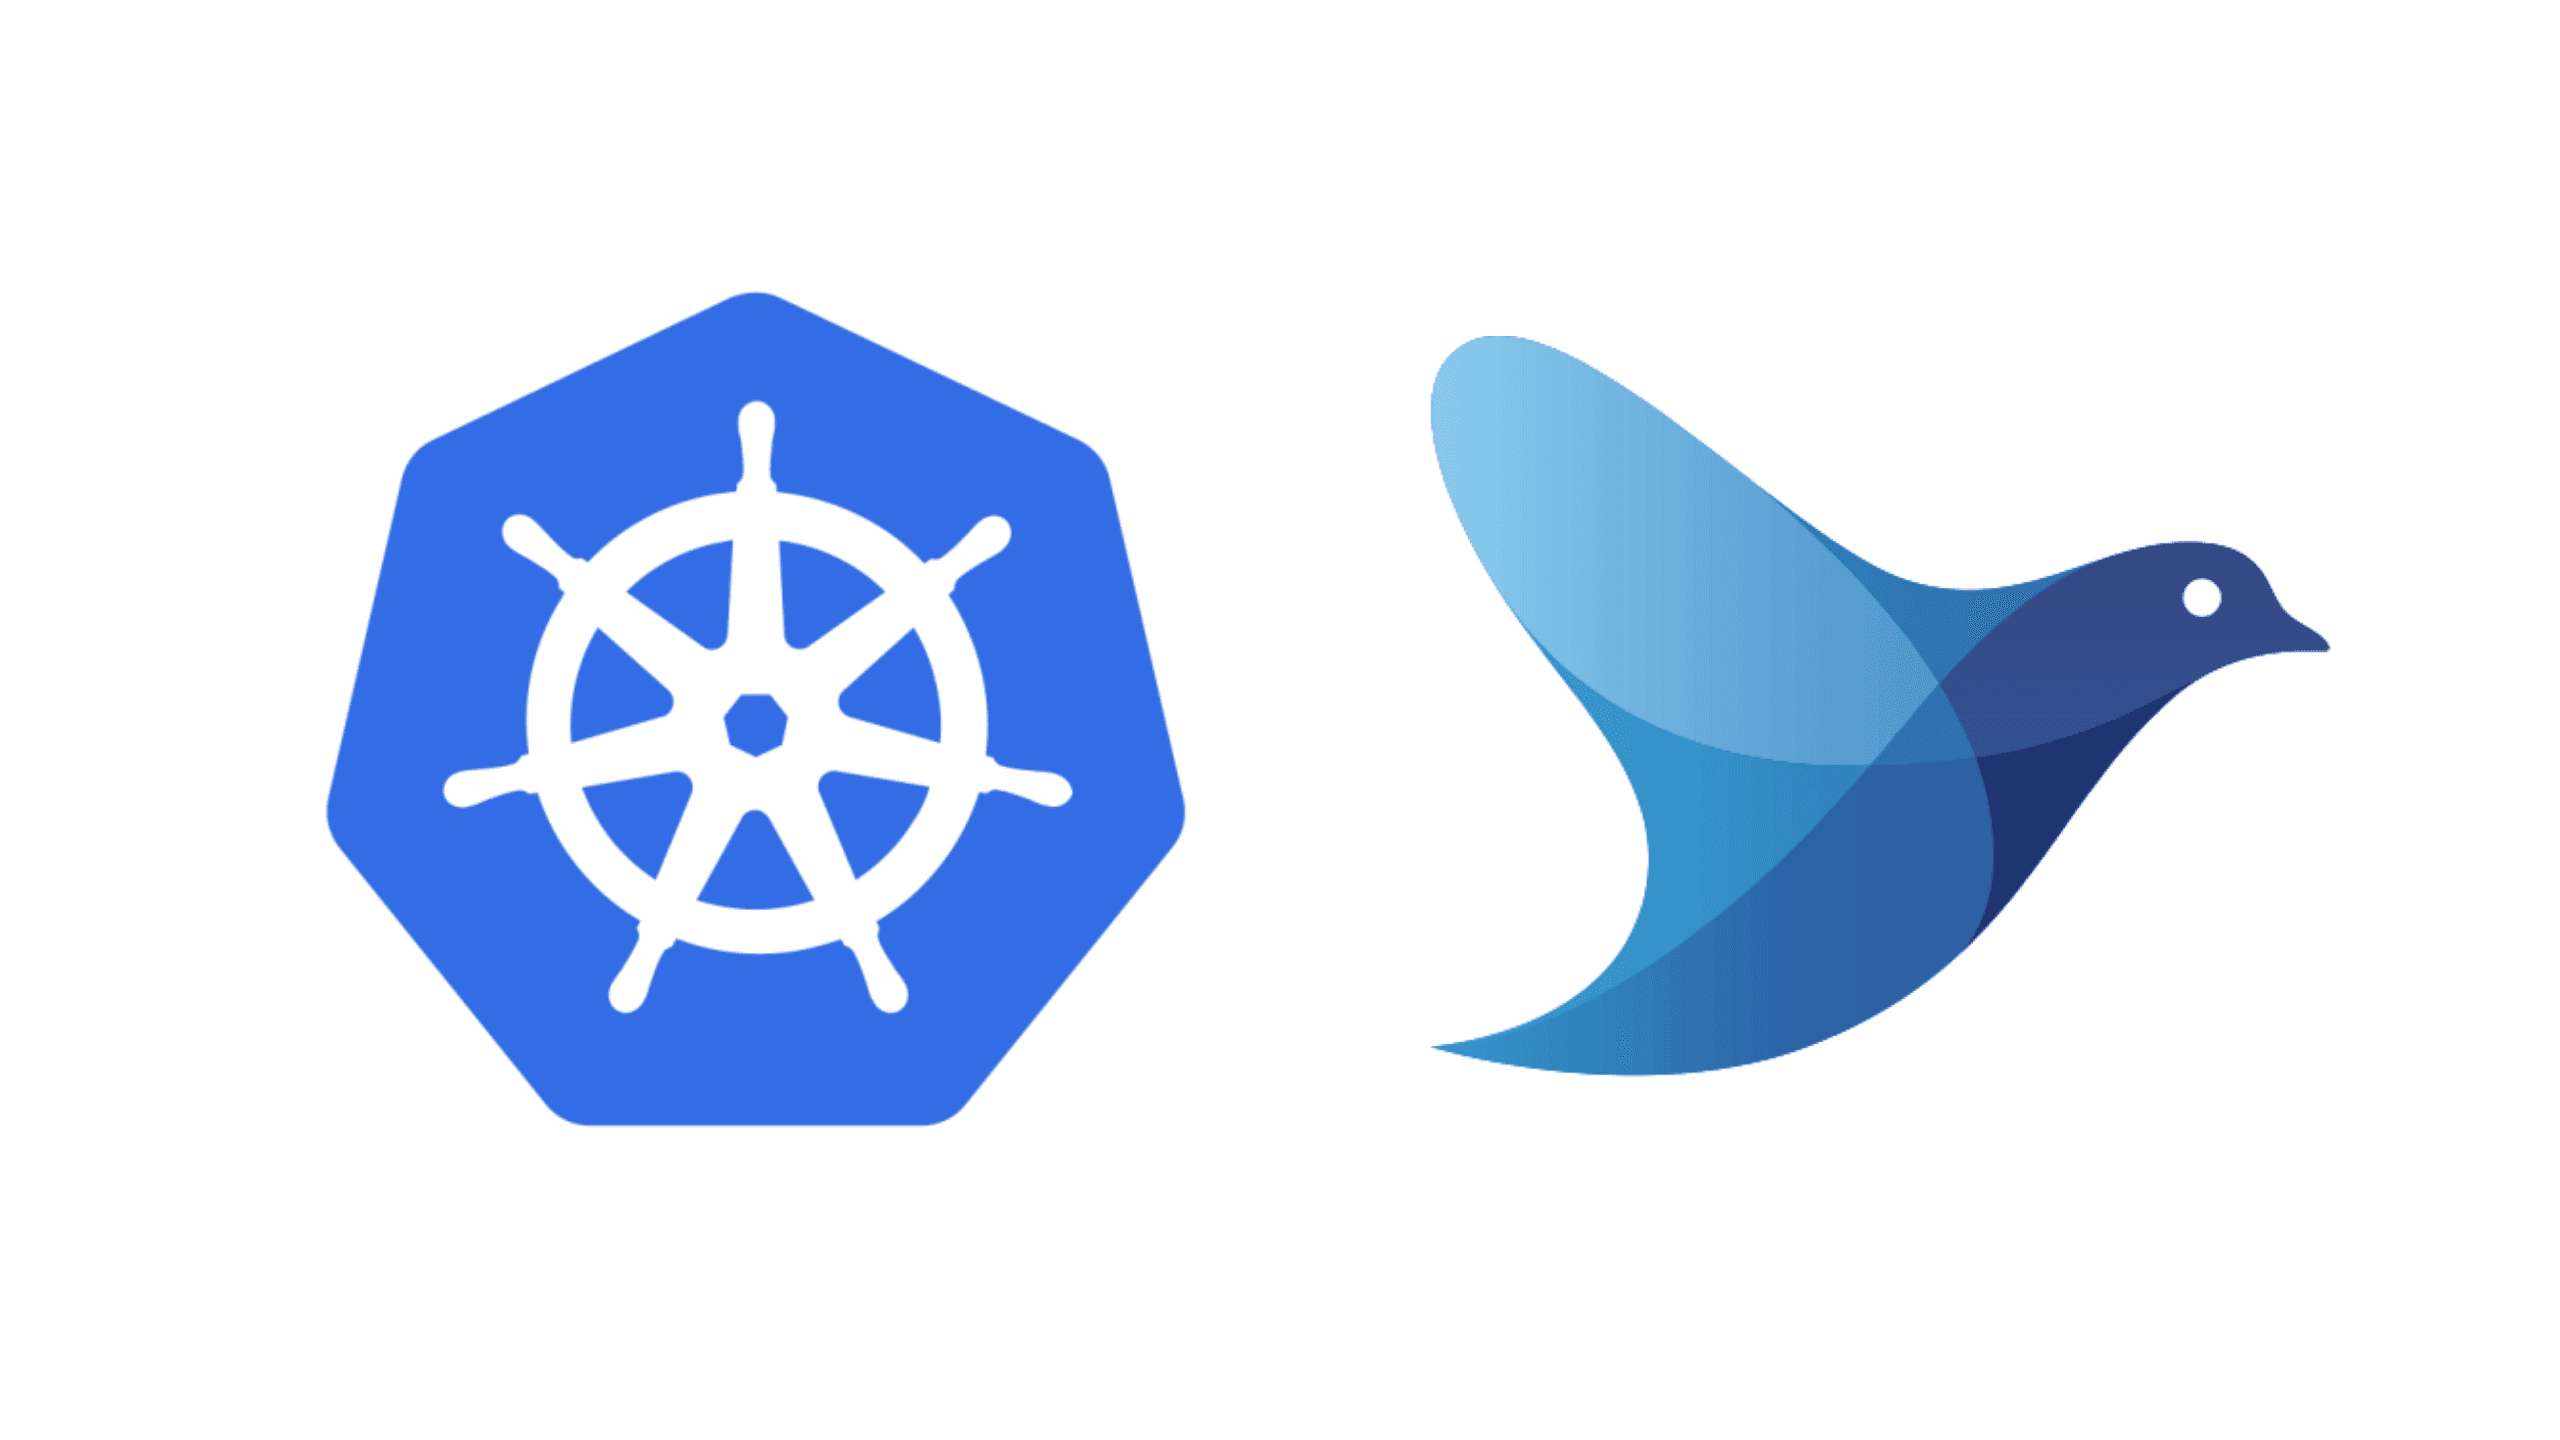
➡️ Architecture of Kyverno ⚙️
Let's look into the architecture. Though understanding every part of architecture is not at all essential at this point but knowing where everything goes and how the workflow goes can help you better visualize and implement. Let's take a look at the images below

As seen that Kyverno acts as a middleman when you are trying to apply the manifest files to your clusters. It verifies it and upon passing applies it to the requested section in the deployment. Enough theory let's try it out
➡️ Hands-on time 🤩!
Now we will be doing a simple nginx container deployment. But this time we don't want :latest image of nginx so we won't be allowed to deploy if the image has :latest tag and allow only if another tag :1.14.2 so let's start.
Installations 💻 :
1) First of all we need will be using helm in this tutorial so it's essential that you have helm installed. Then go ahead and create a Kubernetes cluster on any cloud service provider of your choice, in this tutorial I will be using minikube
2) Now let's add Kyverno repo to the helm. Run the following command in terminal
helm repo add kyverno https://kyverno.github.io/kyverno/
3) We have to now add Kyverno to our deployment cluster. Run the following 2 commands
# This is not mandatory command, this installs the pods security standards implemented by Kyverno. I have included it because it can be valuable practice in long run :)
helm install kyverno-policies kyverno/kyverno-policies -n kyverno
helm install kyverno kyverno/kyverno -n kyverno --create-namespace
# Output for the above command:
NAME: kyverno
LAST DEPLOYED: Tue Dec 20 14:31:48 2022
NAMESPACE: kyverno
STATUS: deployed
REVISION: 1
NOTES:
Chart version: 2.6.5
Kyverno version: v1.8.5

Thank you for installing kyverno! Your release is named kyverno.
4) You can verify if it's successfully added by running the following kubectl command
kubectl get deploy -n kyverno
you should get something like this 👇
NAME      READY   UP-TO-DATE   AVAILABLE   AGE
kyverno   1/1     1            1           98s
If you get this then you have successfully installed Kyverno and you are ready to work with it.
Creating, Testing & Managing Policies ✨ :
1) Now create a folder named Kyverno on your computer and add files named nginx.yml which will be our deployment file and my-policy.yml which will have the policy we are trying to apply. Add the following yml configuration code to it. (Can be also found here)
-- This is code for nginx.yml (Notice here the image tag is 1.14.2)
apiVersion: apps/v1
kind: Deployment
metadata:
  name: nginx-deployment
  labels:
    app: nginx
spec:
  replicas: 1
  selector:
    matchLabels:
      app: nginx
  template:
    metadata:
      labels:
        app: nginx
    spec:
      containers:
      - name: nginx
        image: nginx:1.14.2
        ports:
        - containerPort: 80
-- This code is for my-policy.yml (You can see different policy templates here, the one we are customizing and using here is this)
# This is original policy file from the kyverno docs
apiVersion: kyverno.io/v1
kind: ClusterPolicy
metadata:
  name: disallow-latest-tag
  annotations:
    policies.kyverno.io/title: Disallow Latest Tag
    policies.kyverno.io/category: Best Practices
    policies.kyverno.io/severity: medium
    policies.kyverno.io/subject: Pod
    policies.kyverno.io/description: >-
      The ':latest' tag is mutable and can lead to unexpected errors if the
      image changes. A best practice is to use an immutable tag that maps to
      a specific version of an application Pod. This policy validates that the image
      specifies a tag and that it is not called `latest`.
spec:
  validationFailureAction: audit
  background: true
  rules:
  - name: require-image-tag
    match:
      resources:
        kinds:
        - Pod
    validate:
      message: "An image tag is required."
      pattern:
        spec:
          containers:
          - image: "*:*"
  - name: validate-image-tag
    match:
      resources:
        kinds:
        - Pod
    validate:
      message: "Using a mutable image tag e.g. 'latest' is not allowed."
      pattern:
        spec:
          containers:
          - image: "!*:latest"
- Now edit the
specsection of the configuration file inmy-policy.ymlas below (on line16to be specific)
spec:
  validationFailureAction: enforce
  background: true
  failurePolicy: Fail
- We are done with the edition, now let's try to see if Kyverno stops us if we are trying to deploy
nginx:latestfor this updatenginx.ymlso it looks as follows:
apiVersion: apps/v1
kind: Deployment
metadata:
  name: nginx-deployment
  labels:
    app: nginx
spec:
  replicas: 1
  selector:
    matchLabels:
      app: nginx
  template:
    metadata:
      labels:
        app: nginx
    spec:
      containers:
      - name: nginx
        image: nginx:latest
        ports:
        - containerPort: 80
- Now apply the
my-policy.ymlusing the following command
kubectl apply -f my-policy.yml
You will get output similar to
clusterpolicy.kyverno.io/disallow-latest-tag created
- Now apply the
nginx.ymlusing the following command. (Remember as we have edited it tonginx:latestthis should not get deployed and we should get an error)
kubectl apply -f nginx.yml
You should get an error message similar to
Error from server: error when creating "nginx.yml": admission webhook "validate.kyverno.svc-fail" denied the request:

policy Deployment/default/nginx-deployment for resource violation:

disallow-latest-tag:
  autogen-validate-image-tag: 'validation error: Using a mutable image tag e.g. ''latest''
    is not allowed. rule autogen-validate-image-tag failed at path /spec/template/spec/containers/0/image/'
Wohoo 🎉 you successfully created a policy that doesn't allow :latest tags on the image
- Now change the tag in the
nginx.ymlfile to :1.14.2
image: nginx:1.14.2
and now lets try to apply the nginx.yml file again and this should get deployed as the image no longer has :latest tag
kubectl apply -f nginx.yml
And the output for this should be
deployment.apps/nginx-deployment created
That's it, that's how you enforce the policies and manage them using Kyverno. You can use multiple pre-made policies or you can custom create your own too. And that is all for this blog. Would definitely like to know your feedback in the comments below. Until next time 👋
References 📖
The above images are not created by me and are taken from the internet. The credit for this images go to their respected creators :)
Thank you so much for reading 💖
Like | Follow | Subscribe to the newsletter.
Catch me on my socials here: https://link.kaiwalyakoparkar.com